Imagine knowing exactly who’s at your door without even getting up. A smart doorbell can do just that, giving you more control and security right from your phone.
But how do you get started? If you’ve been wondering how to install a smart doorbell yourself, you’re in the right place. This guide will walk you through every simple step, so you can enjoy the benefits quickly and without hassle.
Ready to upgrade your home and feel safer every day? Let’s dive in.
Credit: www.aqara.com
Choosing The Right Smart Doorbell
Choosing the right smart doorbell is important for your home’s safety and convenience. A good doorbell fits your needs and works well with your home setup. Think about what features matter most. Also, check if the doorbell matches your current technology. Lastly, consider how much you want to spend. These steps help you pick the best smart doorbell.
Features To Consider
Look for clear video quality. Night vision helps see visitors in the dark. Two-way audio lets you talk to guests. Motion detection alerts you to activity. Some models include cloud storage for videos. Check if the doorbell has easy app control. Battery life or wired power matters too.
Compatibility With Your Home
Make sure the doorbell works with your Wi-Fi. Check if it fits your door frame size. If you have a chime, see if the doorbell supports it. Some need wiring, others run on batteries. Consider your home’s smart system, like Alexa or Google. Choose a doorbell that connects smoothly.
Budget Options
Smart doorbells come in many price ranges. Basic models offer video and alerts. Mid-range ones add better video and storage. Premium doorbells have extra features like package detection. Pick one that fits your budget and needs. Avoid spending on features you won’t use.

Credit: www.youtube.com
Preparing For Installation
Preparing for installation is a key step before setting up your smart doorbell. This stage helps avoid mistakes and ensures a smooth process. Taking time to prepare saves effort later and makes the installation easier.
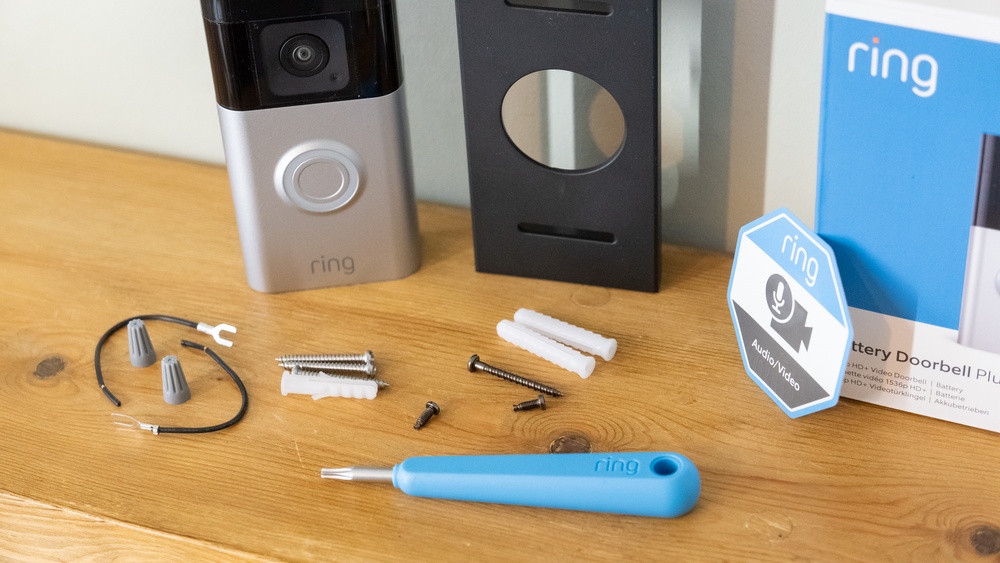
Gathering Tools And Materials
Collect all tools and materials before starting. You will need a screwdriver, drill, screws, and the smart doorbell kit. Also, have a ladder if your doorbell is high. Check the kit for mounting brackets and batteries. Having everything ready avoids delays during installation.
Checking Doorbell Wiring
Look at your current doorbell wiring. Confirm wires are in good condition and not damaged. Most smart doorbells work with existing wires. If unsure, use a voltage tester to check for power. Proper wiring is important for the doorbell to function well.
Turning Off Power
Turn off the power at the circuit breaker to stay safe. This stops electrical shocks during work. Test the doorbell button to make sure power is off. Safety is important when handling electrical parts. Never skip this step before installation.
Step-by-step Installation Process
Installing a smart doorbell is easier than many think. This step-by-step guide helps you set up your device quickly. Follow each stage carefully for a smooth installation.
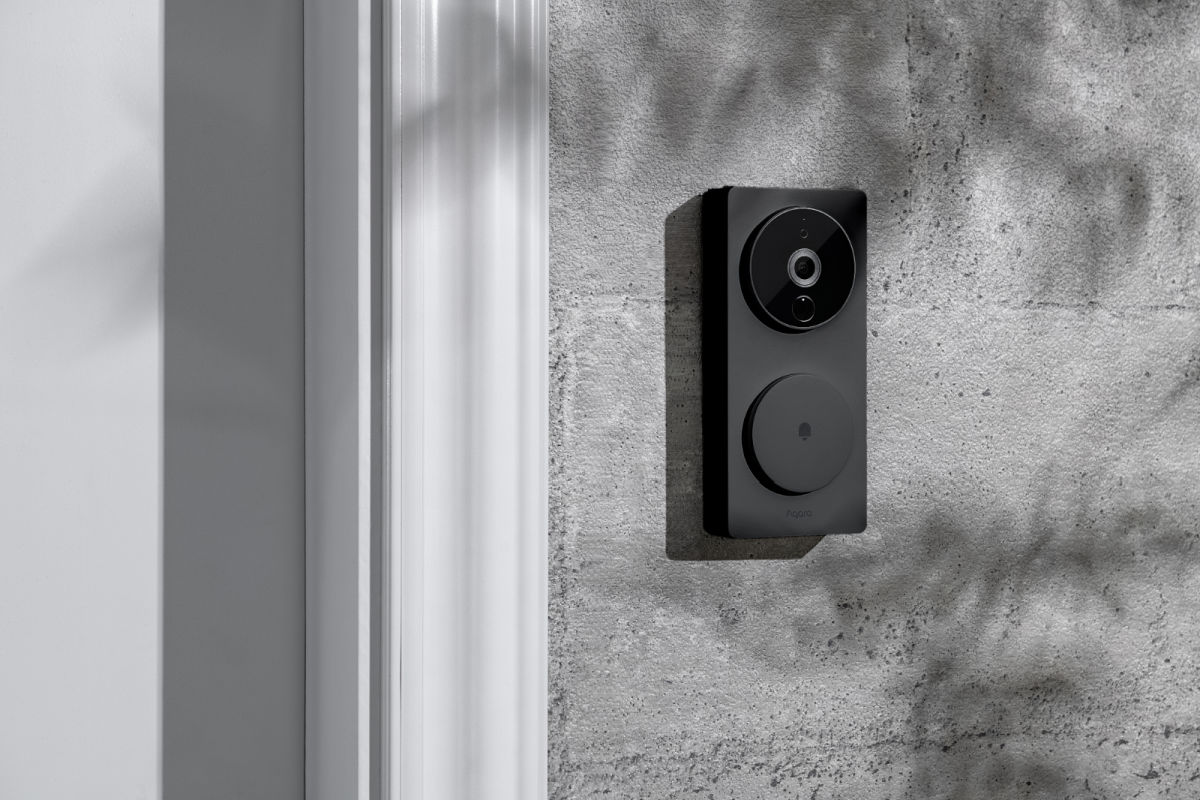
Mounting The Doorbell
Start by choosing a good spot near your front door. The doorbell should be at eye level for best camera view. Use the mounting bracket that comes with your device. Mark the holes with a pencil. Drill small holes for screws. Attach the bracket firmly to the wall. Snap the doorbell onto the bracket until it clicks.
Connecting The Wiring
Turn off power at the breaker box to avoid shocks. Remove the old doorbell if needed. Connect the wires from your home to the terminals on the new doorbell. Usually, just two wires are enough. Tighten the screws to secure the wires. Make sure the wires do not touch each other. Turn the power back on to test the connection.
Setting Up Wi-fi
Download the doorbell app on your smartphone. Open the app and follow the setup instructions. Connect your doorbell to your home Wi-Fi network. Enter your Wi-Fi password carefully. Wait for the doorbell to connect. Check the app to confirm the connection is successful. Your smart doorbell is now ready to use.
Configuring And Testing Your Doorbell
Configuring and testing your smart doorbell is crucial for smooth operation. This step ensures the device works as expected. It also helps you personalize the doorbell to fit your needs. Proper setup lets you receive alerts and view visitors instantly.
Installing The App
Begin by downloading the doorbell’s official app on your smartphone. The app is available on both Android and iOS platforms. Follow the on-screen instructions to create an account. Connect the doorbell to your home Wi-Fi through the app. Ensure the connection is stable to avoid interruptions.
Customizing Settings
Explore the app’s settings to customize your doorbell. Set motion detection sensitivity to reduce false alerts. Choose alert tones that you will notice easily. Adjust the video quality to balance clarity and data use. Enable privacy settings to protect your personal information.
Performing A Function Test
Test the doorbell by pressing the button and checking your phone. Verify the live video feed is clear and responsive. Walk in front of the doorbell to test motion alerts. Check audio clarity by speaking through the doorbell. Confirm all functions work before finishing the setup.

Credit: www.eufy.com
Frequently Asked Questions
What Tools Do I Need To Install A Smart Doorbell?
You need a drill, screwdriver, voltage tester, and a smartphone for setup.
Can I Install A Smart Doorbell Myself?
Yes, most smart doorbells come with clear instructions for easy DIY installation.
How Long Does It Take To Install A Smart Doorbell?
Installation usually takes 15 to 30 minutes depending on your experience.
Do I Need Wi-fi For A Smart Doorbell To Work?
Yes, a stable Wi-Fi connection is required for video and alerts.
Will A Smart Doorbell Work With My Existing Doorbell Wiring?
Most models work with existing wiring, but check compatibility before buying.
Conclusion
Installing a smart doorbell can improve your home’s safety and convenience. Follow each step carefully to avoid common mistakes. Test the device after installation to ensure it works well. Enjoy the benefits of seeing visitors from your phone anytime. Stay patient and take your time during setup.
This small upgrade adds value and peace of mind to your home. Simple tools and clear instructions make the process easy for everyone. You now have a reliable way to watch your front door.